RSS

Creating A Home Theatre

Entertainment looks much different than it did a year ago. But with streaming services offering the latest movie premieres, coupled with the approach of some of the year’s biggest televised events, let’s turn some of those lemons into lemonade and look at key tips for building the perfect home theatre. 


That’s Dedication


While incorporating a home theatre environment into your family room is fantastic, if your goal is to create a space solely for theatrical enjoyment, a dedicated space is best. Whether you just finished your basement or plan to, this is the perfect opportunity for this project.


The primary reasons for a dedicated room are layout and treatment. You’ll get more out of the space by optimizing the placement of furniture, speakers, lighting, and sound baffles.


Furniture


The goal for seating is comfort and screen visibility. Place plush armchairs or couches a suitable distance from the screen, but not too far away. Installing castors on couches, armchairs or love seats are a convenient way to shift or add seating on demand. For a genuine theatre feel, consider tiered seating if your space allows. While you can buy chairs with built-in cup and snack holders, side tables or a coffee table are handy options as well.


The Big Screen


When planning for your screen, you’ll need to decide whether to go with a smart TV or a mounted screen and projector. Projectors used to be prohibitively expensive, but modern advancements have brought their costs way down. 


Whatever you choose, it’s important to mount the screen high enough so that everyone can see clearly—especially with row seating—and low enough so viewers aren’t straining their necks.


The Gear


Unless you use a smart TV, you’ll need a streaming device, a Blu-Ray or DVD player, plus a receiver and surround sound system. If you wish to avoid surround sound components, a decent sound bar will do nicely and negate the need for a receiver. 

Keep your main components together on a TV stand or rack close to an outlet and wired internet access. If you’re planning to use a surround sound system, then it’s strongly recommended to research thoroughly to decide what’s best for your budget and space.

Note: 
While Wi-Fi has come a long way in strength and speed, if you’re streaming in HD (1080p) or Ultra HD (4k), nothing will beat a wired network connection.


Sound Treatment


Reduce outside noise pollution by installing an additional layer of drywall or sound-reducing wallboard, plus replacing the hollow door with a solid one. 


Sound (or room) treatment is more commonly associated with recording studios, but applies in this case because it’s best to reduce reverberation (reverb) as much as possible for a crisp, clean sound. Acoustic foam and baffles can be bought for a reasonable price and applied to walls, the ceiling and corners to cut the reverb. 


The other key element of sound treatment is speaker placement, especially in relation to your seating so do some research.


Set The Tone


To create that perfect theatre atmosphere, start with as little natural light possible. Basements and inner rooms are prime spaces to work with. If your room has windows, the aim is to block our natural light completely and with as little effort as possible.

As far as artificial lighting goes, pot (recessed) lights or wall sconces, coupled with a good dimmer switch give precise control over light levels while reducing the risk of eye strain. An economical substitution is to run LED string lights along the sides of your room. 


Snacks


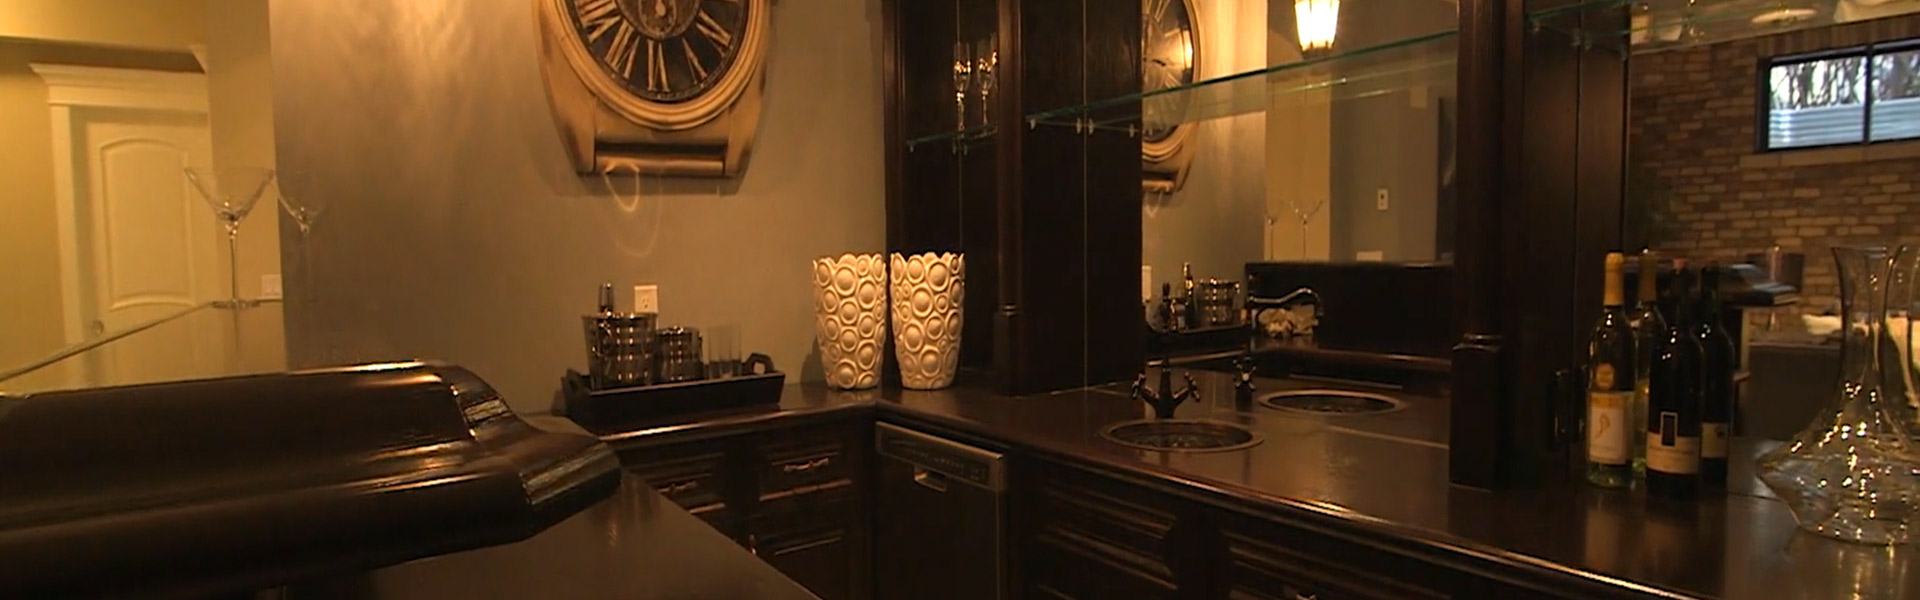
Many people have a bar in their dens, so why not take your home theatre environment to the next level with a snack bar? This could include a mini fridge for your favourite beverages, storage for chips, nuts and candy, or even a popcorn maker to give your theatre that authentic buttered popcorn smell.


Things To Avoid


Like most projects there are common traps to be mindful of, such as:


• Overspending: Technology changes quickly, so don’t budget for the most expensive setup available when you may have to update in a few years. 


• Overly Bright Décor: Bright flooring, furniture and décor can have a negative impact on your room’s ambiance. Darker tones work best.


• Hard Flooring: Smooth flooring contributes to sound reverb so it’s best to use carpeting if possible (the thicker the better!)


• Lighting Behind Seating: This is a surefire way to add unwanted glare to your viewing experience, keep lighting to the sides as much as possible.


Now that you have a better understanding of the key elements for building your home theatre, you’re ready to hit the ground running. As long as you have a well-researched plan for your space, you’re sure to create your perfect home theatre.  

Read

Putting Your Children's Art Work On Display

If you have kids, one thing’s for certain—you have a lot of art on your hands you don’t want to throw away! The fridge can start to get a little busy when you hang up every single drawing, but luckily there are a number of chic ways to decorate with your child’s artwork. Here is a list of ideas for you to find inspiration.


Create Your Own Clothesline Display


If you spent a lot of time drawing together, you probably have one or two (or 10) artistic masterpieces ready for display. Find pieces that match or complement each other either by colour palette or content, and pin them using clothing pins along one to two strands of rope. You can find everything you need at the dollar store, or at local craft suppliers. It all depends on how fancy you want to get. 


Use nails or thumbtacks with colourful ends to attach the string or rope to your wall. If you want to keep it completely hassle-free, adhesive hooks will do. 


Space your nails or hooks out equally and levelled. Grab a single piece of string and tie a knot around each spaced wall mounts. Use the clothing pins to attach the artwork and you’re all set! You can change out the artwork as it gets made!


Put LEGO® on Display


If your children love LEGO®, you probably have several sculptures, buildings, and imaginative creations lying around your house. While LEGO® usually gets disassembled to create the next masterpiece, there are a couple of interesting ways you can display your kids’ creations.


The first way is a wall-mounted LEGO® creation. You’ll need a piece of wood, LEGO base sheets, some paint, glue, and a bit of imagination. Attach the base sheets to the painted piece of wood, then affix your child’s LEGO® creations to those base sheets. Add any adornments you see fit, like stickers, drawings, or glitter! Tip: you might need a little glue to help you out here.


LEGO® Shadow Box


Another great way to display LEGO® art is by creating a shadow box. A shadow box is an enclosed display case with a glass front that lets you show off any number of objects, which makes it perfect for showcasing LEGO® creations. Fill it with whatever creations you see fit.


Wall Calendar


Sometimes your fridge gets a bit full, but there’s a way you can display it year round! Have your kids’ artwork professionally scanned, or if you’re a bit more tech savvy, you can download an app to scan and enhance the art for you! From there, you’ll have a wealth of options at your fingertips. Creating a wall calendar is a unique way to display multiple pieces of artwork from your kids. Try using a custom calendar maker which offer easy drag-and-drop functionality. 


Alternatively, these make great custom gifts for family members and close friends.


Tapestry


Once you’ve had the art scanned the world becomes your oyster! One of our favourite ways to display a child’s original art is a custom tapestry. Pick the most delightful piece of the bunch and send it off to a printer who specializes in custom tapestry.


Playdough Mobile


If your kid is more the arts and crafts type, wall hangings and mobiles are a great option. If they’re a fan of playdough, you can easily craft a wall hanging by attaching a few pieces together using string and connecting them to a rod. It’s worth getting some oven-bake clay if you’re looking to make a mobile, as it’ll probably last a bit longer on the wall.

If your kids are fans of glueing and crafting with mixed mediums, you can create a hanging mobile which allows more depth as it hangs from the ceiling.


While the build-up of art in the house may feel overwhelming, you’ll feel better about displaying it intentionally and incorporating it into your home décor. Your children will feel good knowing you’re proud of their work, and you’ll feel good showing it off. If your kids are old enough, you can even get them involved in building the displays! Work together to make their art even more special. 


There are endless ways to display your kids art, it’s just about finding the best option for you.

Read

Buying A Cottage

Since the beginning of COVID-19, more home buyers have been purchasing properties in cabin country. Spending more time at home, and longing for additional space both indoors and out, has sent many buyers into rural markets like the Sunshine Coast, causing sales to skyrocket.


With employer mindsets shifting towards more flexible work-from-home policies, providing home buyers with greater freedom as to where they can live. 


People are looking to get out into the outdoors not just for the summer season, but all year long. A lot of people looking at year-round places where they can live, versus just being able to go away for a few days at a time.


If you’re looking to make your first home purchase in “cabin” country, here are some things you’ll need to know before you buy. 


Consider Property Access and Distance to Amenities


Whether you’re eying a property by the lake or one that’s nestled in the forest, there are many unique settings to consider when buying a rural property. Your location can greatly impact your lifestyle, especially if you decide to live there year-round.


One of the first things you’ll likely need to determine when buying is how easy is it to access the home. If you plan to live at there year-round, you’ll want to ensure the roads to get to and from your residence are well maintained and accessible, especially during the winter. 


How remote your property is will also play a role in your purchase. The recent surge of all-season cottage buyers don’t want to feel too isolated, and want to be fairly close to neighbours in case there’s an emergency.


You’ll also want to consider proximity to basic amenities, such as grocery stores, pharmacies, and hospitals. Most cottage buyers prefer to be within 30 minutes of a small town where these services are available, and up to three hours from a major urban centre. 


Learn About Rural Infrastructure and Home Winterization


Unlike a city or suburban home, rural properties don’t always share municipal services. Instead, you will have to get familiar with the rural infrastructure needed to independently manage your home’s water, heating and sanitation utilities. 


Buyers need to be aware of the types of systems their home uses. Some properties feature dug or drilled wells, and source water from nearby rivers and lakes. Make note of how the home processes sewage, like through a septic tank, which is stored on-site and underground. 


If your plan is to live at the cabin all-year round, it’s vital your home is properly winterized and can withstand the cold. Make sure the home is well insulated in the walls, pipes and roof, and make sure the heating source is efficient for the size of the property. Be sure the cabin can also supply water in the freezing months with the help of a defrost line into the well or a heat trace that will keep the pipes from freezing.


It’s not uncommon to get zero service bars in rural areas either—be sure to confirm you can receive reliable mobile phone and internet service at the cabin, especially if you’re working remotely.    


Cell and internet service are obviously very important, especially for people that are doing a lot of work from home. Find out what areas may not have good service.


Calculate Cottage Insurance and Upkeep Costs


Just like any home, cabins come with a range of maintenance costs, though some of these expenses are unique to rural areas. 


You’ll want to factor in long-term upkeep expenses, like keeping the driveway in good condition so it’s easily accessible. Your property may be on a septic system, which will require pumping every three to five years depending on its size and usage, which also contributes to maintenance costs. When looking at a cabin property, examining the health of any trees and their orientation towards the house—cutting down sickly shrubs can get expensive. 


When it comes to financing your property, there are a number of factors that will contribute to your insurance rates, such as your distance from local fire stations, if your home is elevated from nearby water, and even how often the home is occupied. 


The mortgage lending process will also look a bit different from what’s involved for your typical city or suburban home. If your home meets the standards to be a primary residence, you may be able to put down a 5% mortgage deposit, though some lenders could request 25% in some cases. Hence, it’s crucial to understand the different implications for each rural mortgage provider. 


There’s a lot of things to think about, therefore, by enlisting my help as a local realtor I can ensure you have the most up-to-date advice.  

Read

Buying A Property With Tenants

When we think about buying and selling real estate, it’s easy to overlook that, in many cases, the property being sold is a rental property that likely has tenants. In fact, with a majority of households in Canada owning their homes nearly one-third of all homes in Canada are rental properties. 


While most real estate transactions are pretty straightforward, different rules apply when a rental property is concerned. Let’s look at the different scenarios you might encounter when buying a rental property that has tenants.


Scenario 1: You Want To Keep The Tenant(s)


This is the simplest scenario and has the least impact on timing and conditions of the sale. No matter if the tenant has a fixed-term or periodic tenancy (month-to-month), once the sale closes they will fall under your responsibility as the new lessor (a.k.a. landlord). In most provinces, any fixed-term lease will revert to a periodic tenancy automatically when it expires.


You may be asking, “Do I need to sign a new lease agreement?” While it’s not mandatory to sign a new lease, The rules in the Residential Tenancies Act (RTA) will always apply, regardless if there is a contract or not. If the parties sign a new lease, the landlord can change the terms ONLY if the tenant agrees and if the changes comply with the rules stipulated in the RTA.


Scenario 2: You Wish To Occupy The Home Or Rent To A Family Member


There are two ways this works, but in both scenarios it’s important to clearly state your intent to occupy the home or assign it to an immediate family member (parent, spouse or child)—this does not apply to extended family or close friends—as part of your purchase agreement.


The tenant has a lease that has not come to term: 

The tenant’s lease remains protected until the end of the fixed term. Therefore, landlords need to ensure the buyer is aware they must comply with the existing tenancy agreement. This means you must assume responsibility for the tenant and serve notice to end the tenancy no less than the minimum period required by law before the end date of their fixed-term lease.


If you need the home vacant at the time of purchase, then the sale can only close on the last day of the tenancy, and the current owner is responsible for providing notice. Notice must be given according to the laws of the province or territory in which the home exists. 

When it comes to this situation, The lease must be respected regardless. In this situation you could open a discussion with the tenants and try to find a monetary compensation that they are comfortable breaking the lease agreement for, so that all sides are happy.


The tenant’s lease is month-to-month: 

The same minimum notice requirements apply in this case, though notice can be given immediately once the terms of sale have been satisfied. If you require the unit empty, the sale can only close after the day on which the tenancy ends.


Scenario 3: You Wish To Demolish, Renovate Or Repurpose The Property To A Non-Residential Use


This is often where things can get difficult, especially if due diligence has not been taken to prepare ahead of time before ending a tenancy, or if the work is not completed within a reasonable timeframe after the tenancy has ended.


Generally, if a plan is in place to demolish the home, if the home requires substantial renovations that require it to be empty, or if it’s being converted to a non-residential use, longer notice times can be expected. The notice period is anywhere from two months to a full year, depending on the province.

In the case where a multi-unit building is replacing the original rental unit, or where renovations are concerned, the tenants have the right to move back into the unit once the work is completed. Or the landlord and tenant may agree to end the lease early.

In some cases the landlord may be required to pay moving expenses, or to compensate the tenant, depending on the province and number of units in the property.


Scenario 4: The Tenant Is Paying Below Market Rent


When a tenant has been residing in a home for many years, rent often falls below market, causing the only downside for a buyer when they wish to keep a tenant. As years pass, property values, taxes, and mortgage rates rise, increasing the overheads for landlords and narrowing profit margins. 


Most provinces set annual limits for rental increases to limit abuse, though the premise is that a landlord risks losing a good tenant if they unreasonably raise the rent. A landlord must follow a minimum notice period, and if they have good reason to increase the rent beyond the guidelines, they can apply for permission from their provincial landlord tenant board. 


Rent may also be increased beyond the guideline amount if it’s justified by investing in improvements or renovations to the property.


Residential Tenancies Acts Resources


While there are many similarities from province-to-province, notice periods and restrictions on ending tenancies can differ greatly. For British Columbia rules and regulations please see: 


https://www.bclaws.gov.bc.ca/civix/document/id/complete/statreg/02078_01#section49


Read

How To Choose A Paint Colour

While many people are attracted to bright colors, Homeowners are often most concerned with making sure the palette in their home feels “livable.” After all, a color you love in a stunning photo may not be a color you will love to see on your walls every day. Here are some tips for choosing a paint color you’ll enjoy in real life.


Don’t Buy Paint On The Spot


It’s important when you begin the process of selecting a paint color, to start with a wide palette of options.


When you go to a paint store, don’t worry about choosing the best possible color while you’re in the shop. Your goal should be to arm yourself with a variety of options so you can make the best possible choice later. This usually means pulling more swatches than you think you need — and even colors you don’t think you will want.


Choosing subtle colors, as opposed to bold and saturated hues, can be the trickiest, as the more subdued the tones in the paint, the harder they will be to see in a paint chip. For this reason it is wise to grab some paint chips that are similar to the color you think you want, but a bit off. Grab the paint chip that appeals to you at first glance, but also take two swatches on either side of it for variety.


When you look at these paint chips again at home, you may find that one you didn’t think you liked is actually the right one for your home.


Bring Your Own Swatch


When you go to the paint store, don’t go empty-handed. Bringing a piece of art or fabric as color inspiration can be useful, but something even simpler can help you see colors correctly: a white sheet of paper.


In the store, a pale color may look virtually white, but in your home it will likely be contrasted by some bright white elements such as the ceiling, trim or even something as simple as a switch plate or lampshade, rendering the color much more noticeable.


Bringing something pure white — and also pure black if you have it — will give you something to contrast against the paint swatches in the store to help you see the undertones more clearly.


For example, a “light” blue may seem lighter than the other blue shades on the same paint chip, but compared with a stark white it might suddenly look a lot more saturated.


It can also help to use another design element of the room as color inspiration. It’s usually recommended to choose colors that are a bit lighter or toned down from the true hues in the inspiration piece, lest they be too saturated for a full wall.


Try Some Space Experiments


Once you’ve taken many paint swatches home, that is when you can truly decide which colors will work. As you may know, colors can look quite different in your real-life lighting than in the bright fluorescent lighting of a store.


It’s also important to consider that colors will look different relative to other hues in the room, different positions (on a wall versus on the ceiling, for example) and at different times of the day.


Tape paint chips to the wall where they will be applied, and view them during the time of day you will be in the room the most. For example, in the morning or evening for your bedroom. Take your time to do this with individual color swatches on their own, so each color swatch isn’t visually competing with a rainbow of other options.


Go Big And Go Home


Another huge factor that can change how you perceive a paint color is the size of the swatch. No matter how carefully you look at it, a tiny paint store swatch will never fully show you what a color will look like on a full wall. For this reason, designers will often apply a large stroke of paint directly to the wall to see how it will look in real life.


This is an effective technique for helping to compare a shortlist of colors once you’ve narrowed down your selection. It can also help you see how a single shade looks in different finishes if you’re debating between, say, eggshell or matte.


If you don’t want to have to live with messy walls for a while, you can also order large-format paint samples from many companies. It will cost you about $10 to $15 per “memo” swatch, but it can save you a lot of money in wasted paint if it means you don’t end up with the wrong color.


Take Your Time


To some, painting a room, and then painting it again later to change the shade, isn’t a big deal. After all, paint is one of the relatively easier elements of a space to fix if you make a mistake.


For others, the effort and expense of repainting is a major pain. If this is you, it’s worth taking the time beforehand to really sit with a color option before taking the plunge. The more time you take to sit with the choice, the less likely you are to get swept up in a passing fad or sudden impulse.


Do you love a color right now because it’s a true favorite, or is it just a passing infatuation? Looking back at older saved photos will help you see what hues you’ve truly gravitated toward for the long haul.


If you think you’ve settled on a favorite shade, keep a copy of the paint chip with you as go about your life. When you find yourself in a friend’s home, a cozy restaurant or another inspiring space, hold the paint chip up to nearby surfaces to see if it seems lighter or darker, brighter or more muted than colors you’re drawn to.


Make A Commitment


Once you’ve selected and purchased a paint color, it’s time to commit. Paint will look quite different during the painting process, and it is very important not to judge the color until it has been properly applied in the necessary number of coats — at least two, but often three or more, depending on the product and shade.


It’s truly wisest not to judge the color at all until at least the next day, and to give yourself some time to adjust to the change in your space before jumping to any conclusions.


This is especially true with darker shades, which will visually shrink the space in a way you will need a little time to get used to.


Get A Second Opinion


Still worried you won’t be able to live with your choice? Having a design professional come to your home for a color consultation can give you a lot of insight, especially because they will typically come armed with paint-swatch decks in every color, bringing the entire paint store to you.


Another option is to choose a time-tested signature color of one of your favorite designers. While a color shown in a single photo may look different in real life, if you try a designer’s go-to hue, you can rest assured that this color looks great in many spaces.


Don’t Think About It


Any artist will tell you that the more you stare at something, the harder it becomes to truly see it. Sometimes the best thing you can do while trying to choose a color is to take a break for several days and come back to your options with a fresh perspective.


When you come back, look at your selections and go with your gut. Ultimately, if you really love a color — light, dark, soft or bright — it will feel livable, so there’s no reason to choose any hue but the one that feels right to you

Read
Reciprocity Logo The data relating to real estate on this website comes in part from the MLS® Reciprocity program of either the Greater Vancouver REALTORS® (GVR), the Fraser Valley Real Estate Board (FVREB) or the Chilliwack and District Real Estate Board (CADREB). Real estate listings held by participating real estate firms are marked with the MLS® logo and detailed information about the listing includes the name of the listing agent. This representation is based in whole or part on data generated by either the GVR, the FVREB or the CADREB which assumes no responsibility for its accuracy. The materials contained on this page may not be reproduced without the express written consent of either the GVR, the FVREB or the CADREB.